
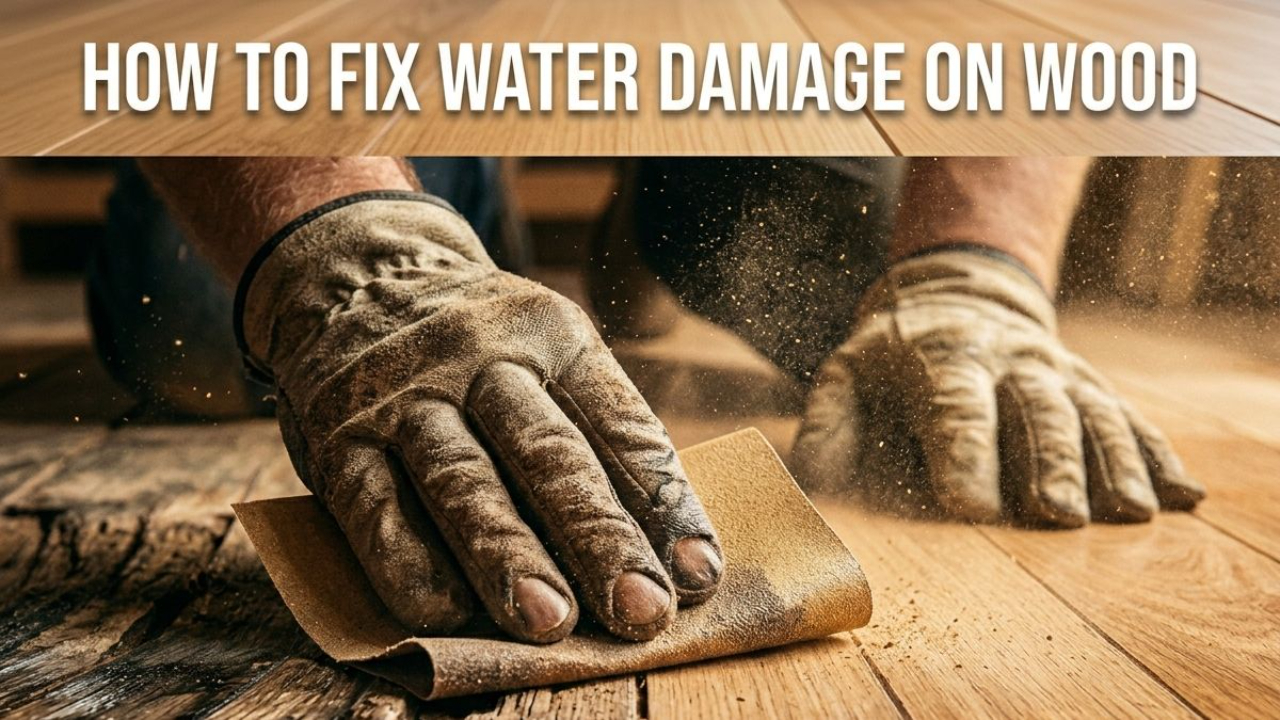
How to Fix Water Damage on Wood: A Complete Step-by-Step Guide
May 25, 2026Water damage on wood is one of the most common — and frustrating — home repair problems. Whether it's a white ring from a coffee cup or a warped floor plank after a leak, the good news is that most water damage on wood is fixable. This guide walks you through exactly how to do it.
Why Water Damage Happens — and Why Speed Matters
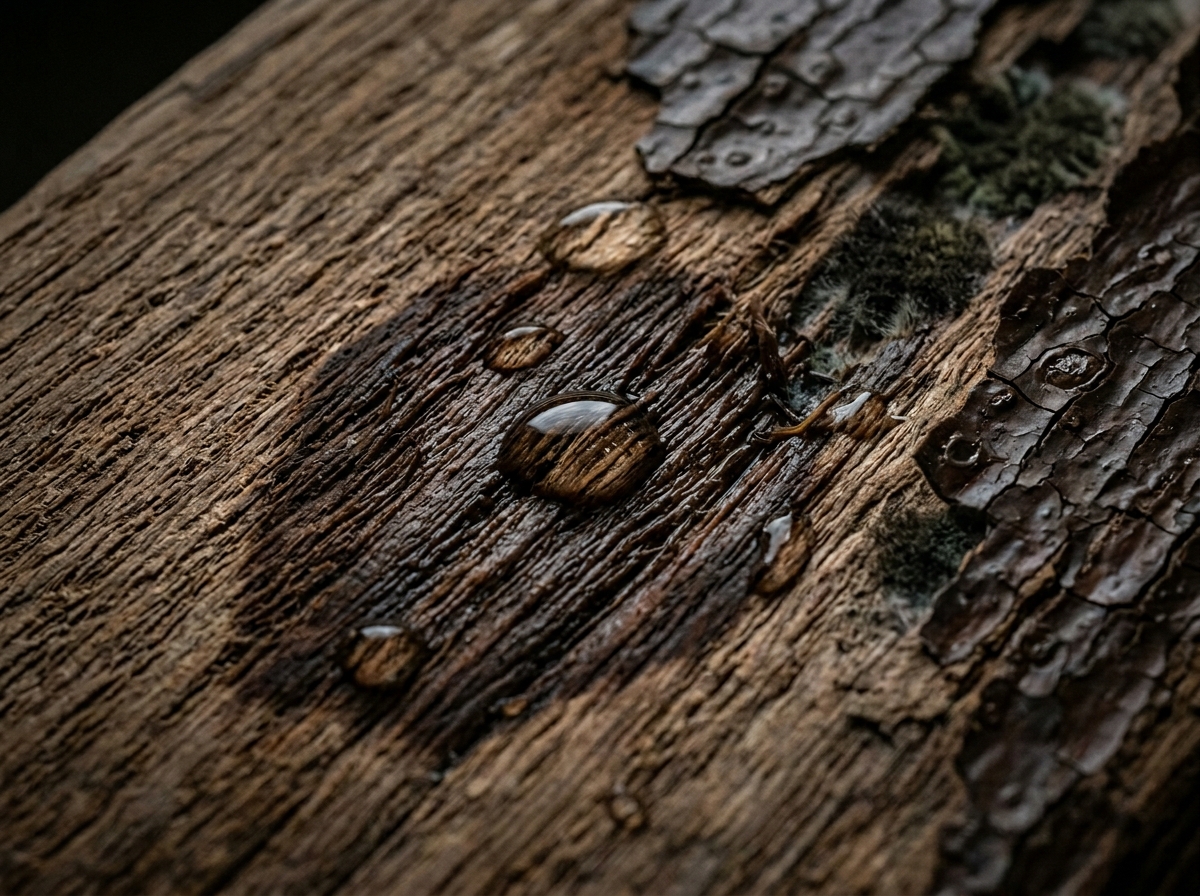
Wood is a porous material. When water seeps in, it swells the fibers, breaks down finishes, and — if left long enough — invites mold and rot. The longer you wait, the harder (and more expensive) the repair becomes.
Acting within the first 24–48 hours after water exposure gives you the best chance of a full recovery. Even older damage, however, can often be restored with the right technique.
Step 1: Identify the Type of Water Damage
Not all water damage looks the same. Before grabbing your sandpaper, know what you're dealing with:
White Stains or Rings — Caused by moisture trapped in the finish (not the wood itself). Common from cups, glasses, or condensation. Usually the easiest to fix.
Dark or Black Stains — Water has penetrated into the wood. Often a sign of mold, mildew, or tannin reaction. Requires deeper treatment.
Warping or Cupping — Wood planks have absorbed moisture unevenly and shifted shape. Common in floors and furniture legs after flooding.
Step 2: Gather Your Tools and Materials
Before you start, make sure you have everything ready:
- Sandpaper (80, 120, 220 grit)
- Petroleum jelly or mayonnaise
- White toothpaste (non-gel)
- Oxalic acid (for black stains)
- Clean soft cloths
- Wood filler or epoxy
- Wood stain (matching)
- Polyurethane finish or wood sealant
- Heat gun or hair dryer (for warping)
- Protective gloves and mask
Step 3: Fix the Water Damage — By Damage Type
Fixing White Rings and Surface Stains
- Try the toothpaste method first. Dab a small amount of non-gel white toothpaste onto the stain. Rub gently in the direction of the wood grain using a soft cloth for 1–2 minutes, then wipe clean.
- Use petroleum jelly or mayonnaise. Apply a thick layer over the white stain and leave it overnight. The oils help displace the trapped moisture. Wipe off in the morning — the stain is often gone.
- Try a hair dryer on low heat. Hold a hair dryer 6–8 inches from the stain and apply gentle heat in slow circular motions. This can evaporate the trapped moisture in minutes.
Fixing Deep Black Water Stains
- Sand the affected area lightly. Use 80-grit sandpaper to remove the finish over the stain. Always sand with the grain, never against it.
- Apply oxalic acid (wood bleach). Mix according to package instructions and apply to the stained area with a brush. Let it sit for 30–60 minutes, then neutralize with a baking soda and water solution. Allow to dry completely.
- Sand, stain, and reseal. Once dry, sand smooth with 120 then 220 grit. Apply matching wood stain, let dry, then finish with a polyurethane sealant.
⚠ Safety Note: When working with oxalic acid, always wear gloves and a mask and ensure the area is well-ventilated. It is a chemical bleach and should be handled with care.
Fixing Warped or Cupped Wood
- Dry the area fully first. Use fans, a dehumidifier, or open windows to bring moisture levels down before attempting any repair. Warped wood cannot be fixed while still wet.
- Apply moisture to the dry side. If a board is cupped (edges raised), lightly dampen the concave (dipped) side with a wet cloth and place heavy weights on top overnight. This encourages the wood to flatten naturally.
- Use a heat gun carefully for stubborn warps. Apply gentle heat from a heat gun to the convex side while flattening with weights. Move constantly to avoid scorching.
How to Prevent Future Water Damage on Wood
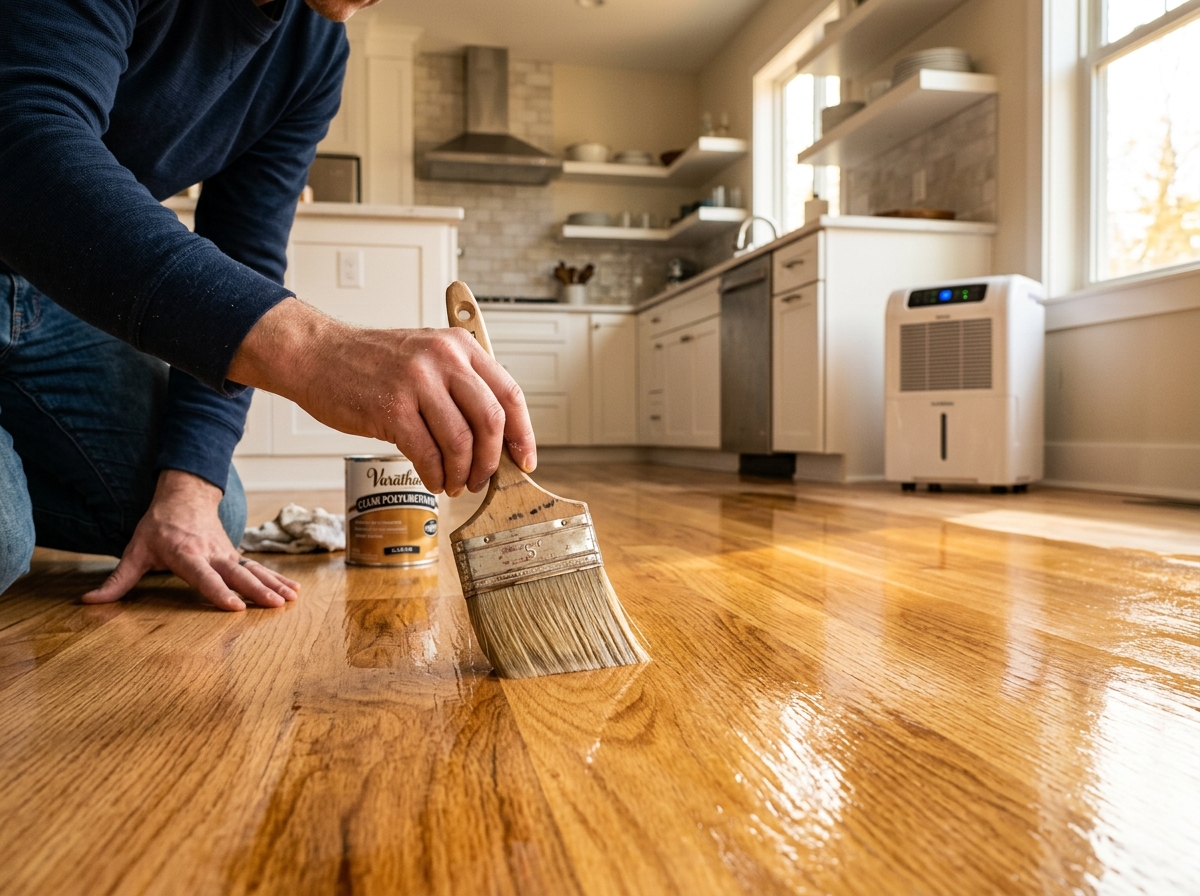
Repairs are great — prevention is better. Here's how to protect your wood going forward:
- Seal wood surfaces regularly — Apply a waterproof sealant or polyurethane finish every 1–2 years on high-exposure areas like floors and outdoor furniture.
- Use coasters and mats — Protect tables and countertops from cups, glasses, and hot dishes.
- Fix leaks immediately — A slow drip under a sink can cause significant wood damage within days. Don't delay repairs.
- Control indoor humidity — Keep indoor humidity between 35–55% using a dehumidifier. High humidity causes slow, invisible moisture buildup in wood over time.
- Ventilate bathrooms and kitchens — Steam is a major cause of wood swelling in these rooms. Always use exhaust fans.
When to Call a Professional
DIY repairs work well for minor to moderate damage. But some situations call for a professional:
- The water damage covers a large area (more than a few square feet)
- You can see or smell mold growth in or under the wood
- Structural wood (subfloor, joists, beams) appears soft, spongy, or rotted
- The damage was caused by flooding or sewage (biohazard risk)
In these cases, a water damage restoration specialist or licensed contractor is the safest and most cost-effective option.
Final Thoughts
Water damage on wood is stressful — but in most cases, it's completely fixable with the right approach. The key is to act quickly, identify the type of damage, and use the correct repair method. Whether you're dealing with a white coffee ring or a warped floorboard, the steps above will get your wood looking great again.
Have more home air quality or repair questions? Visit IAQAnswers.com for expert guides on keeping your home safe, healthy, and well-maintained.
Schedule Your Indoor Air Quality Check Today
Worried about the air inside your home? Our professional indoor air quality inspections help identify hidden pollutants, allergens, and airflow issues so you can breathe cleaner, healthier air with confidence.