How to Check Air Quality in Your House for a Healthier Living Environment
Sep 27, 2025Indoor air plays a crucial role in your family’s health and comfort. While many people think pollution is only an outdoor problem, the truth is that harmful contaminants can accumulate right inside your home. Learning how to check air quality in your house helps you identify potential risks early and create a safer environment. From smart air quality monitors to specialized testing for mold, radon, and volatile organic compounds, there are several methods that homeowners can use.
In this guide, we’ll cover the best techniques, what they reveal, and how to respond if results show poor indoor air quality.
Why Should You Monitor Indoor Air Quality?
Indoor air often contains pollutants like dust, pet dander, carbon monoxide, and chemical fumes that you cannot see or smell. Prolonged exposure may lead to allergies, asthma flare-ups, respiratory illness, or fatigue. By learning how to test for indoor air quality, you can detect hidden dangers, take preventive steps, and maintain a healthier home environment.
How to Check Air Quality in your House Using Indoor Air Quality Monitors
One of the easiest ways to check your indoor air quality in Atlanta is by installing an indoor air quality monitor. These smart devices track factors such as:
- Levels of particulate matter (PM2.5 and PM10)
- Carbon dioxide buildup
- Humidity and temperature fluctuations
- VOC (volatile organic compound) emissions
Many monitors connect to mobile apps, giving you real-time data and alerts if pollutants reach dangerous levels.
Testing for Mold at Home
Mold spores thrive in damp environments such as basements, bathrooms, and poorly ventilated spaces. Mold exposure can worsen allergies, cause chronic coughing, or trigger asthma. To test for mold:
- Use DIY mold test kits available at hardware stores
- Collect samples from surfaces and air
- Send them to a laboratory for confirmation
If high mold levels are detected, hiring a remediation professional may be necessary.
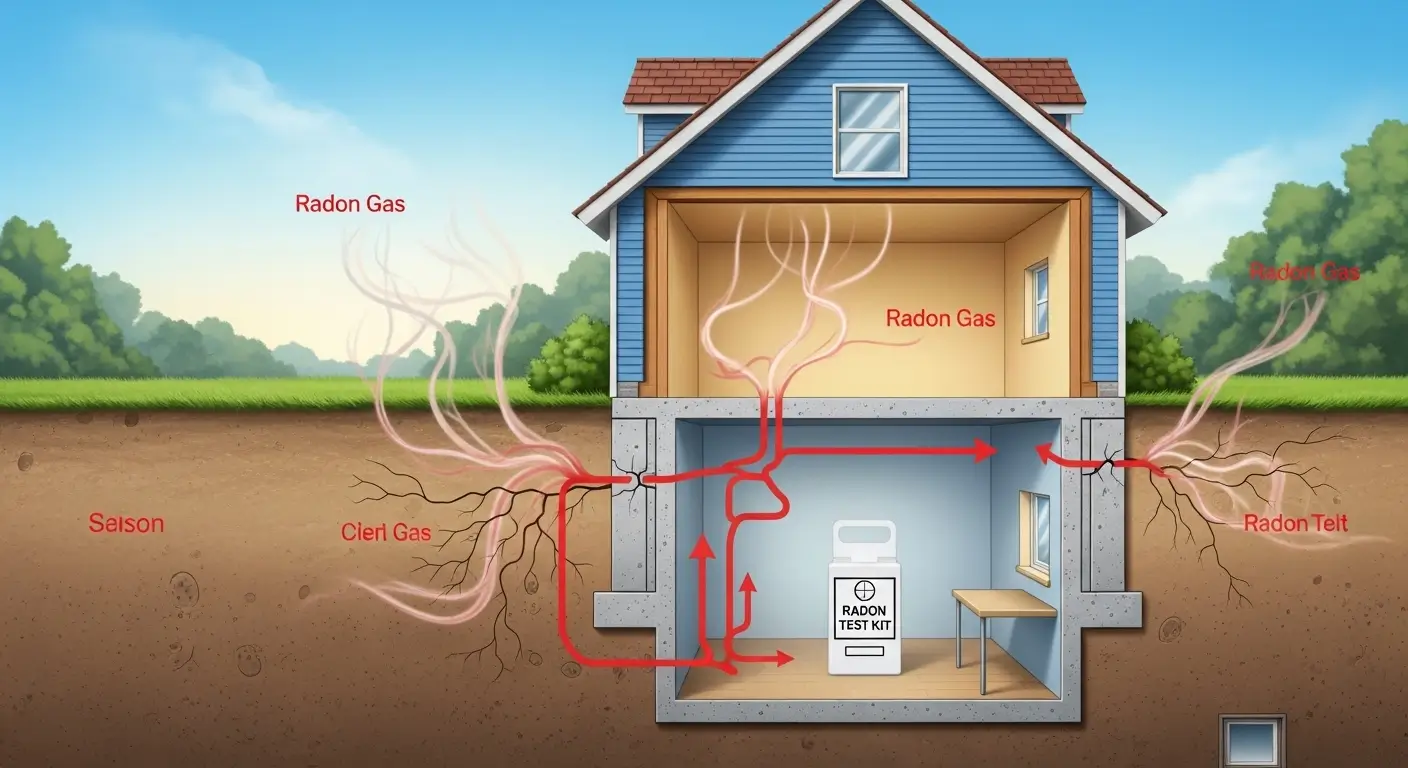
Checking for Radon Gas
Radon is a naturally occurring radioactive gas that seeps into homes from the soil. Long-term exposure is a leading cause of lung cancer among non-smokers. Testing for radon is simple:
- Short-term test kits (2–7 days) measure immediate exposure
- Long-term test kits (90 days or more) provide a clearer picture of average levels
If your results are above the recommended safety limit (4 pCi/L in the U.S.), you should consult a radon mitigation specialist.
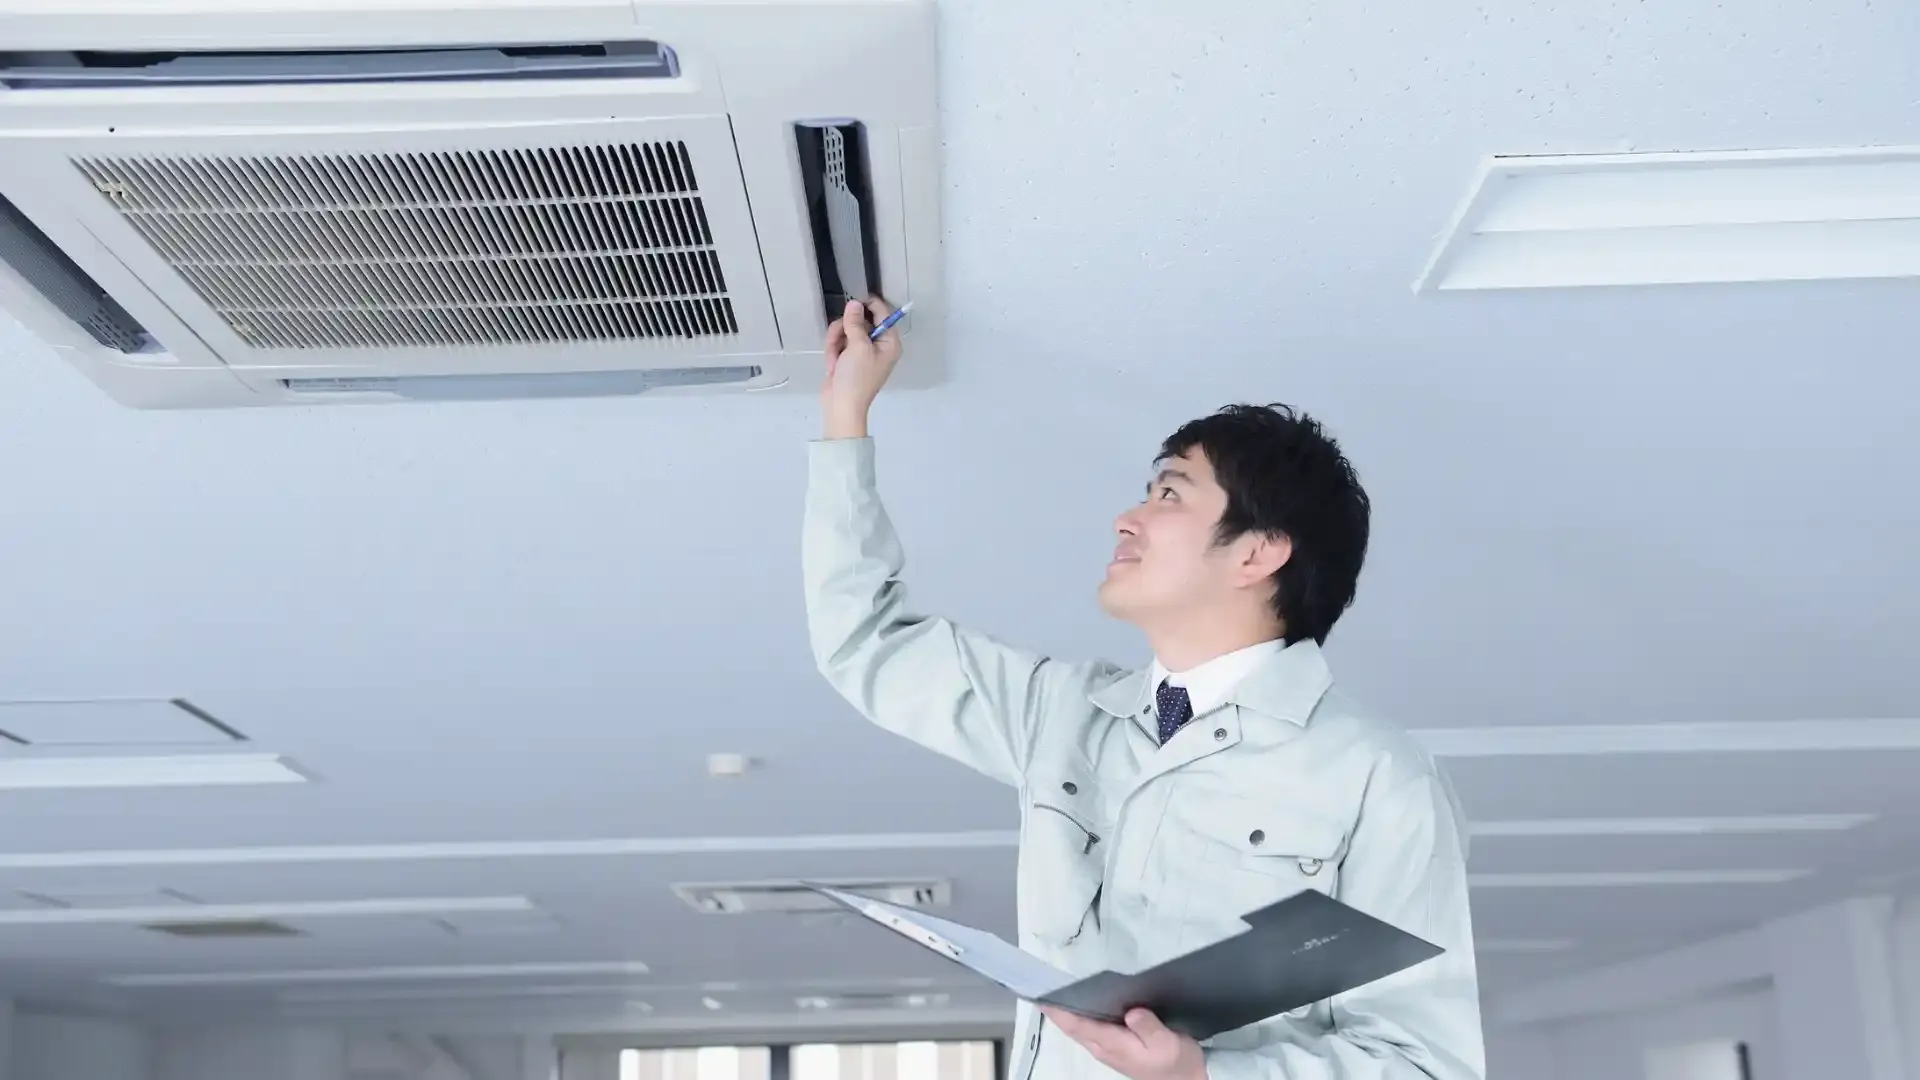
Installing Carbon Monoxide Detectors
Carbon monoxide (CO) is a silent, deadly gas released by fuel-burning appliances, fireplaces, and stoves. Because CO is colorless and odorless, detectors are the only way to ensure safety. Place CO detectors near bedrooms and on each floor of your house, and test them monthly to confirm they are working.
Measuring VOC Levels
Volatile organic compounds come from household cleaning products, paints, adhesives, and even furniture. High VOC exposure may cause headaches, nausea, and long-term health issues. Specialized VOC meters or advanced air quality monitors can detect the concentration of these chemicals indoors. Reducing VOC exposure involves switching to low-VOC products and increasing ventilation.
Other Types of Air Quality Testing
Besides mold, radon, and VOCs, you may also want to test for:
- Asbestos fibers in older homes
- Lead particles in paint or dust
- Allergen levels from dust mites or pet dander
Professional testing services offer a full indoor air quality assessment that covers multiple contaminants at once.
How Often Should You Check Your Home’s Air Quality?
The frequency depends on your situation. A good rule of thumb is:
- Every 6–12 months for general monitoring
- Immediately after renovations or painting
- If anyone in your household experiences unexplained allergies or respiratory issues
- After water damage, which increases mold risks
Steps to Improve Air Quality After Testing
Once you learn how to check air quality in your house, the next step is improvement. Some effective strategies include:
- Using HEPA air purifiers in bedrooms and living areas
- Replacing HVAC filters every 2–3 months
- Keeping windows open when outdoor air quality is good
- Vacuuming and dusting frequently
- Choosing natural, fragrance-free cleaning products
Managing Humidity for Healthier Air
Humidity plays a big role in indoor air quality. Too much moisture encourages mold, while very dry air can cause skin irritation and respiratory discomfort. Ideally, your home’s humidity should stay between 30% and 50%. Use dehumidifiers in damp basements and humidifiers in dry winter months to maintain balance.
How Much Does Air Quality Testing Cost?
The cost of testing varies:
- DIY test kits: $10–$50 depending on the pollutant
- Professional mold or allergen testing: $200–$600
- Comprehensive indoor air assessments: $400–$1,000+
Though professional testing may seem expensive, it provides accurate results and peace of mind, especially if your family experiences health issues.
Choosing the Best Air Quality Test for Your Needs
Different households face different risks. When deciding how to test for indoor air quality, consider:
- Do you live in a humid area? → Focus on mold testing
- Is your region known for radon? → Start with a radon test kit
- Do you use gas appliances? → Install CO detectors immediately
- Did your home undergo renovations? → Check for VOCs and asbestos
Selecting the right test ensures you address the most likely sources of pollution.
What to Do if Tests Show Poor Air Quality
If your results reveal high levels of pollutants:
- Identify the source (leaks, appliances, chemicals, or ventilation issues).
- Take immediate action, such as increasing airflow or sealing cracks.
- Hire professionals for severe issues like mold infestations, radon mitigation, or asbestos removal.
Acting quickly reduces health risks and prevents long-term damage.
Conclusion
Knowing how to check air quality in your house is the first step toward protecting your family’s health. Whether you rely on smart monitors, test kits, or professional inspections, the results guide you in making improvements that last. Combine regular testing with proactive steps like humidity control, filter changes, and reducing VOC exposure to ensure cleaner, safer air indoors.
Frequently Asked Questions
Why is indoor air quality testing important?
Testing helps uncover hidden pollutants like carbon monoxide, mold, and radon that can impact health without obvious symptoms.
How often should I test the air in my home?
Every 6–12 months is recommended, or sooner if you notice health problems or recent water damage.
What are common sources of indoor air pollution?
Dust, pet dander, mold, chemical cleaners, tobacco smoke, gas appliances, and VOC emissions from building materials.
How can I improve indoor air quality without professional help?
Use HEPA purifiers, ventilate your home, control humidity, and switch to non-toxic cleaning supplies.
What should I do if my home’s test results are poor?
Identify the pollutant source, remove it if possible, and call professionals for issues like radon, asbestos, or severe mold.
Schedule Your Indoor Air Quality Check Today
Worried about the air inside your home? Our professional indoor air quality inspections help identify hidden pollutants, allergens, and airflow issues so you can breathe cleaner, healthier air with confidence.
